Methven

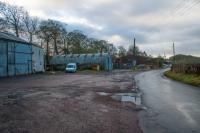
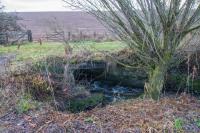
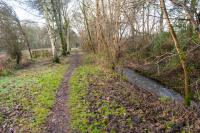
On the curve where the Methven line turned from going south west to south east the line re-crossed the Methven Burn. It re-crossed it again shortly afterwards at Tippermallo as it approached Methven Junction.
Location: Methven
Original line: Perth, Almond Valley and Methven Railway
Photographer: Ewan Crawford
Contact photographer: Ewan Crawford
Date: 14/12/2023
Image number: 92202
Other photographs of Methven on RailScot
 |  |  |  |  |  |  |  |  |  |
eBay may have some items listed below which may be of interest. RailScot is an eBay affiliate. Buying an item may help offset the running costs of the site.
